Monday, October 27, 2008

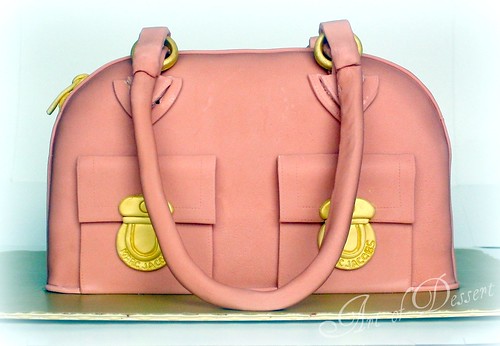
Tutorial: Marc Jacobs Bag Cake

Marc Jacobs Blake Bag Cake

My sister is truly an inspiration to me. Six years ago, she decided to forget going to law school and follow her dream. Without telling anyone, she applied to the Fashion Institute of Technology and got accepted. Soon after breaking the news to everyone, she packed up her bags and moved to New York City to study fashion design. It took a lot of guts for her to make such a risky decision, especially after investing so many years of schooling. But it was a bold move that paid off in ways she couldn't have imagined. Today, she's working as a handbag designer for Marc Jacobs , one of the top fashion designers in the world. She was the one who encouraged me to go to pastry school and I'll be forever grateful to her for that. So when she told me she was coming home to celebrate her 30th birthday, I wanted to make her a cake that symbolized her dream fulfilled. I just had to make her a Marc Jacobs bag cake.

Wednesday, October 22, 2008

The Accidental Frosting: Hybrid Buttercream

The Accidental Frosting

At first glance, it looks like meringue buttercream or whipped white chocolate ganache, maybe even cream cheese frosting - but it's not. I was experimenting in the kitchen (as always) and made this by accident. It was one of those days when my multitasking got the best of me and for a moment, I forgot what I was doing (oh yeah, I'm not perfect, what's new?). I measured the wrong amount of milk or butter or something (I can't even remember anymore) and voila! I made a frosting that looked smooth like meringue buttercream, but it was made with butter, powdered sugar, vanilla extract and milk, just like classic buttercream. It was not as sweet as classic buttercream but the mouthfeel was almost as silky as meringue buttercream.

Monday, October 13, 2008

One Good Chocolate Cake: Chocolate Truffle Cake

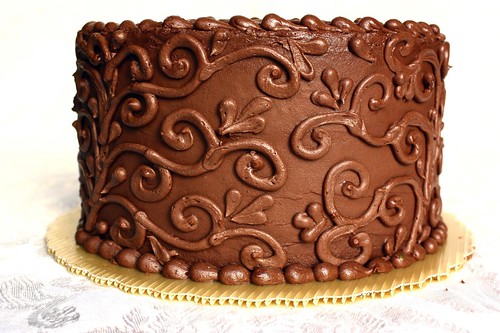
Chocolate Truffle Cake - sides


Hello, my name is Rianne and I'm a chocoholic. The last time I had chocolate was late last night. I had a slice of chocolate truffle cake...and I was happy as a clam.

Saturday, October 11, 2008

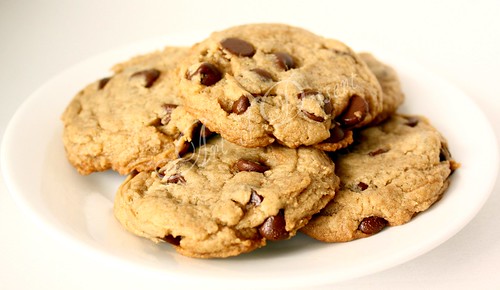
My Ultimate Egg-Free Chocolate Chip Cookies

Have another cookie...

After years and years of trying so many different recipes...the search is finally over! I found my holy grail chocolate chip cookie. And where, you might ask, did I find such a cookie? It was written on the back of a package of Ghirardelli semi-sweet chocolate chips. It's callled Ghirardelli Chocolate Chip Cookie, and once you sink your teeth into these chewy gooey cookies, you'll be swooning for more. Oh yeah...they're THAT good.

But once I had the perfect chocolate chip cookie, I had to find a way to make it allergen-friendly for my son. I don't know what possessed me to add cream cheese in place of eggs, but it worked! And come to think of it, I actually like this version better because it stays moist and chewy for days. I keep it in an airtight container in the fridge. Just pop it in the microwave for a few seconds and it's like having freshly baked cookies everyday. YUM!

My Ultimate Egg-Free Chocolate Chip Cookie
Yields about 4 dozen cookies
Allergy Note: contains dairy and wheat
2 cups semi-sweet chocolate chips*
1 cup butter or margarine, at room temperature
3/4 cup sugar
3/4 cup brown sugar
8 oz. cream cheese, at room temperature
2 teaspoons vanilla
2 1/4 cups all-purpose flour
1 teaspoon baking soda
1/2 teaspoon salt

*For allergy-friendly chocolate chips, you can try Enjoy Life brand or Chocolate Dream.

(UPDATE: For years, I never felt the need to chill the cookie dough before baking it. Main reason: I was impatient. So I just mixed all the ingredients and baked them right away.  That worked for me and the cookies tasted good to me but then I tried chilling dough after I placed them onto the cookie sheet and Whoa! What a difference! The cookies ended up lightly crispy around the edges and oh so ooey gooey in the middle.)

Sift together flour, baking soda and salt; set aside. In large mixer bowl, cream together butter, sugar, brown sugar, cream cheese, and vanilla. Gradually blend dry mixture into butter/sugar mixture. Stir in chocolate chips. Line two baking sheets with parchment paper. Drop heaping tablespoons onto prepared baking sheets (I like using a cookie scoop or ice cream scoop) about 2 inches apart. Refrigerate for at least 1 hour. Bake at 375ºF for 9 to 11 minutes, turning halfway into the baking, or until golden brown around the edges.  Allow to cool for 15 to 20 minutes before serving.
Wednesday, October 8, 2008

Tutorial: Making Simple and Easy Monograms

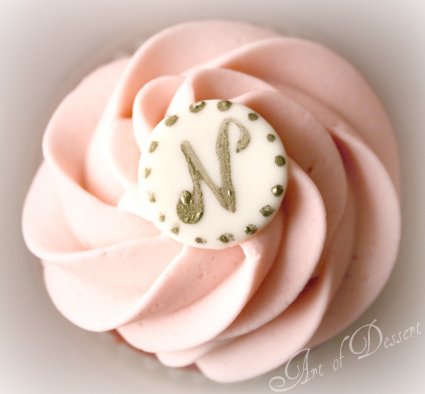
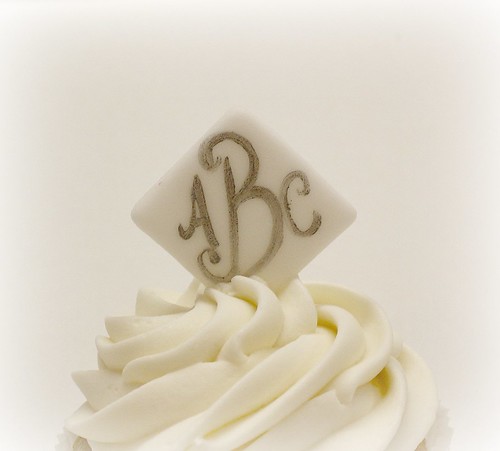
Monogram cupcake
Monogram made from rolled fondant

I recently started using monogram plaques on my cupcakes. I've been using plaques on cakes for a while, but I never thought of using them on cupcakes until now. I was inspired by the individual pastries found in tres chic patisseries like Laduree and Pierre Herme. If you've ever browsed through their display, you'll notice that they top their pastries with logo inscribed plaques. The plaques they use are actually made of chocolate and the logo is made of melted cocoa butter and powdered food color. To make them, a thin layer of chocolate is spread over a pre-printed acetate transfer sheet. The chocolate is allowed to cool for a little bit before cutting into desired shapes. Once the chocolate has set, the plastic is peeled off, leaving the logo imprinted onto the plaque.
I decided to recreate that look using fondant and gumpaste because, a) it's quicker and easier to make, b) the materials are readily available in any arts and craft store, and c) I can be a bit more creative with the designs. The possibilities are endless when it comes to designs and shapes; you can stay simple and elegant or get fun and creative. You can try using Alphabet Stamps(like for scrapbooking) to imprint letters or designs onto the fondant or gumpaste. You can also try using Wilton White Candy Melts as plaques (just paint the letters on the flat side).
M is for Matthew
Monograms made from Wilton Candy Melts
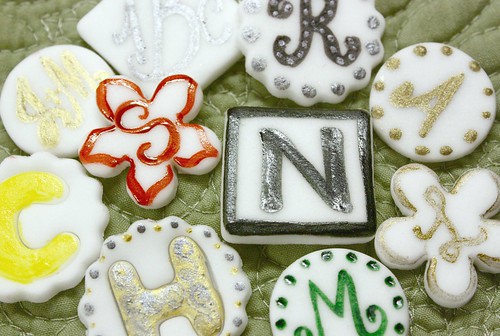
Here are just a few of the ideas I came up with. You can search online for font types that are easy to copy onto a plaque.
Monograms
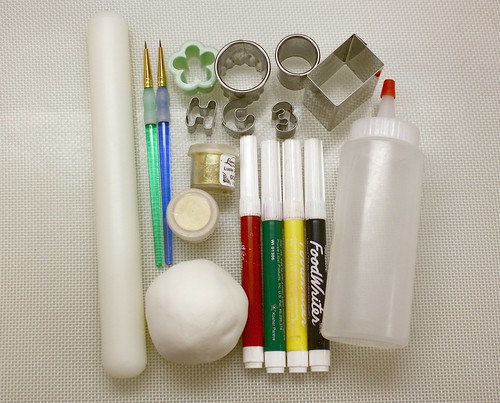
To make monogram plaques, you'll need:
- rolled fondant or gumpaste
-fondant rolling pin

- fine tip paintbrushes
- food color (powder, gel or paste) or gold luster dust

- food color pens

- small round cutters

- letter and number fondant/gumpaste cutters

- clear alcohol (vodka or lemon extract)

Monogram materials

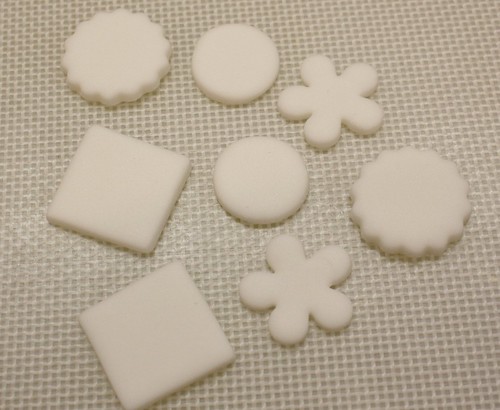
To start, roll the fondant or gumpaste into the desired thickness and cut out shapes. Let them dry a bit so they'll be easier to write on.

IMG_2054


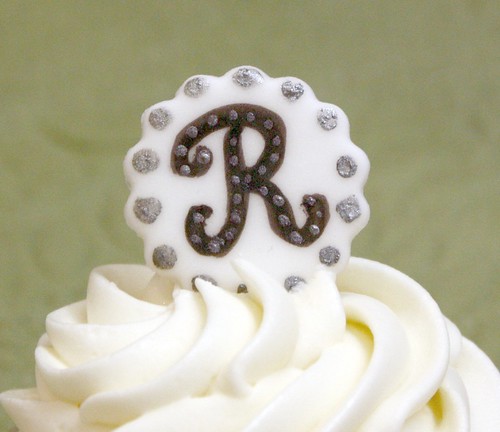
For this design, I wrote the "R" with a black food color pen then I mixed silver luster dust with vodka and painted dots around the plaque and inside the "R."
R monogram

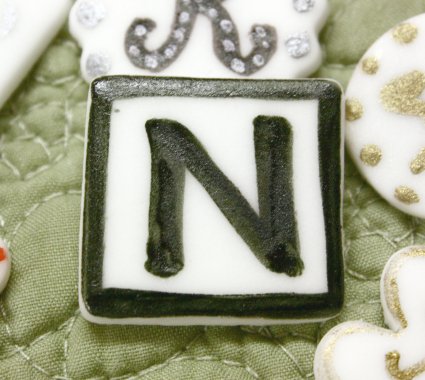
I used the same black food color pen to write the "N" and drew a border around.
N monogram
The letters on this diamond plaque were painted on with a silver luster dust and vodka mix.
IMG_2071

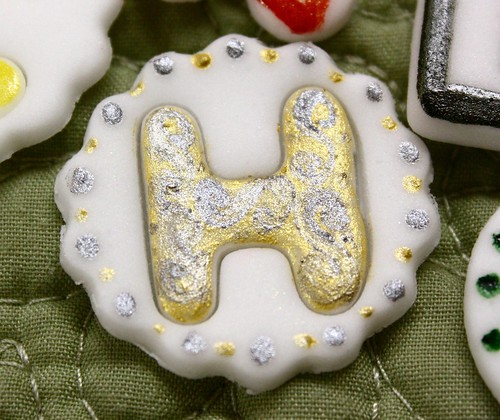
The "H" was stamped on with a fondant letter cutter. I painted it with gold luster dust then painted an S pattern with silver luster dust.

H monogram

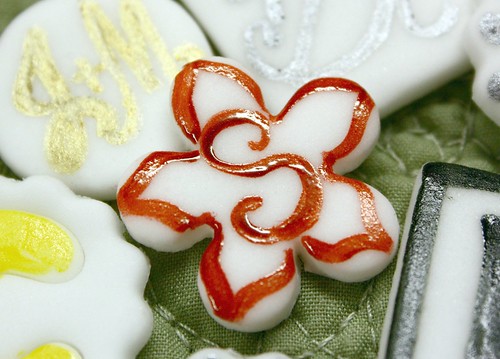
I used red gel food color to paint this monogram plaque.

S monogram

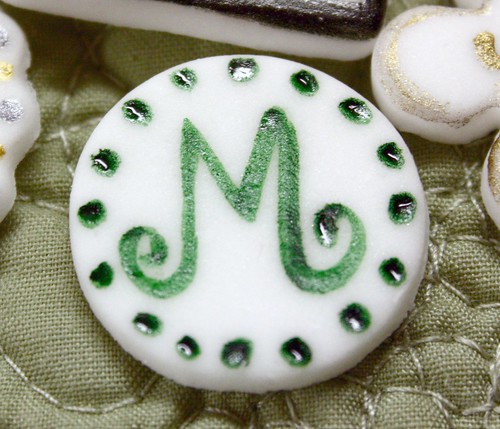
This is the same technique as above; I just used green gel food color.

M monogram

Have fun making these monogram plaques. Use them to personalize cakes, cupcakes or any other dessert. So far, I've used them for a birthday, a baby shower, an engagement party and a baptism. What's next? A wedding? Hmmm.... stay tuned.

Monday, October 6, 2008

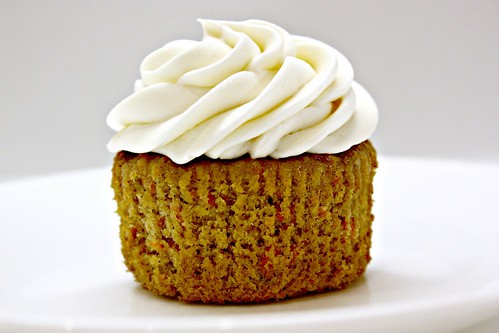
Egg-Free Carrot Cupcakes (with Vegan and Wheat-Free Alternatives)


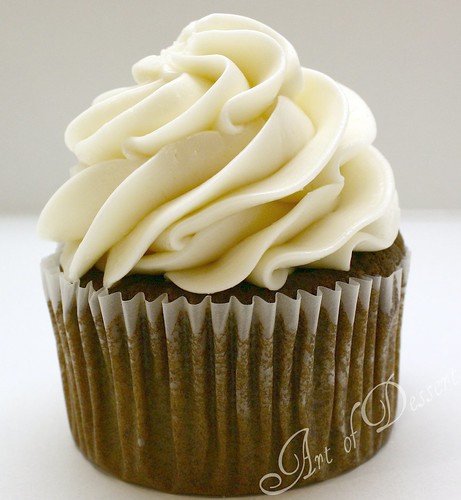
Carrot cupcake

It's Fall...my favorite time of the year, and although it's still scorching hot here in San Diego, I just want to jump right into October with some seasonal desserts. My first offering this month is the lovely carrot cake. The amber hue of this cake with its orangey flecks of shredded carrots kind of reminds me of autumn leaves.

ShareThis

LinkWithin

Related Posts Plugin for WordPress, Blogger...