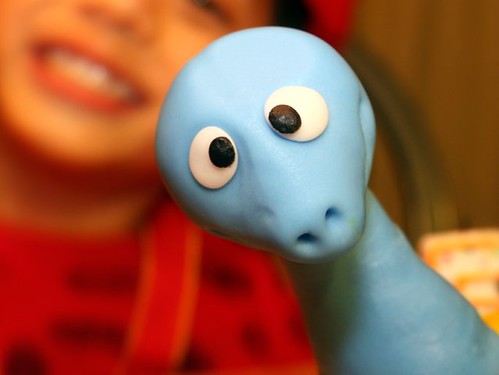
When I asked my son what kind of cake he wanted for his birthday this year, he immediately jumped up and down and said, "A dinosaur cake, Mommy! A dinosaur cake!" He even had a particular dinosaur cake in mind. He went straight to my bookshelf, pulled out one of my cake decorating books and showed me a picture of a silly blue dinosaur with yellow spots. Whew! For a second there I thought he was gonna show me a T-Rex. Okay, I think I can do this. This is gonna be fun.
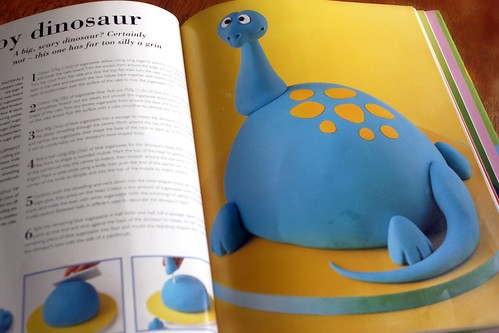
I've had Debbie Brown's 50 Easy Party Cakes
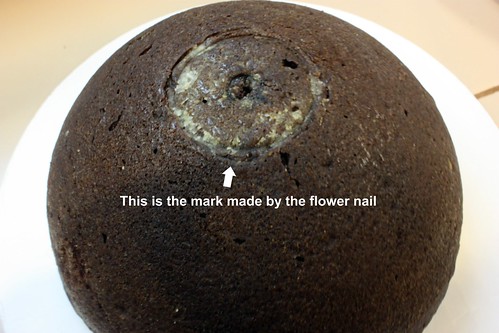
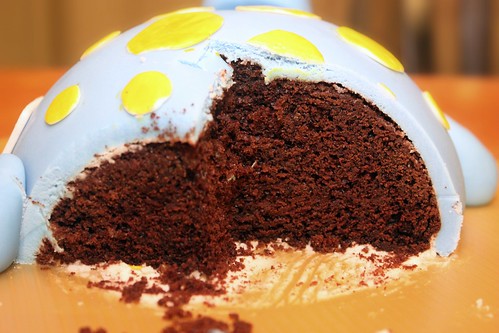
To make the dinosaur cake, I needed a dome-shaped cake for the body. I decided to use my Wilton Sports Ball Cake Pan to bake an egg-free chocolate cake. I followed the cake pan instructions but my cake ended up undercooked in the center. So much so that when I removed it from the pan, it actually collapsed in the middle. I thought maybe I overfilled the pan so I tried it again with less batter. The second time around was a little better but it was still undercooked in the center. So I finally tried a technique that I read about when baking cakes in 3-inch deep cake pans

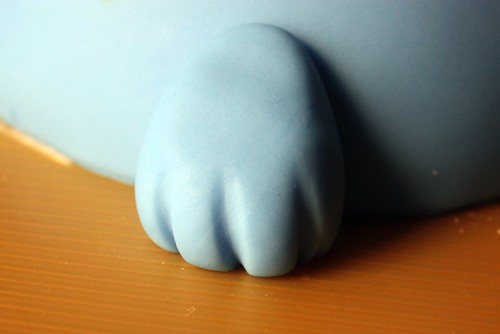
After it cooled completely, I lightly covered the cake with vanilla frosting and then covered it with blue rolled fondant. From that point, I just followed the instructions in Debbie's book. At first, I wasn't too sure if I was gonna pull it off, but slowly the silly blue dinosaur with yellow spots started to emerge.
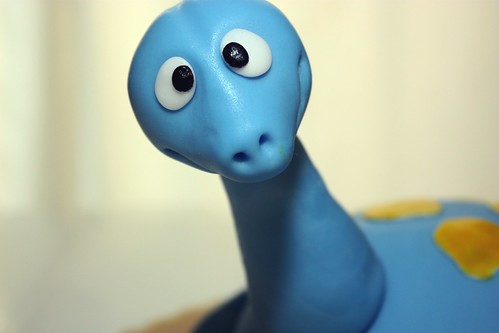
I used food color markers

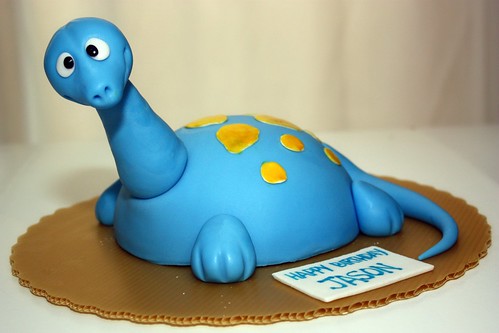
And voila! A dinosaur cake! Okay, so it's not exactly the right proportions if you compare it to the photo in the book, but I think it's still good. The expression on this dinosaur's face just cracks me up every time.
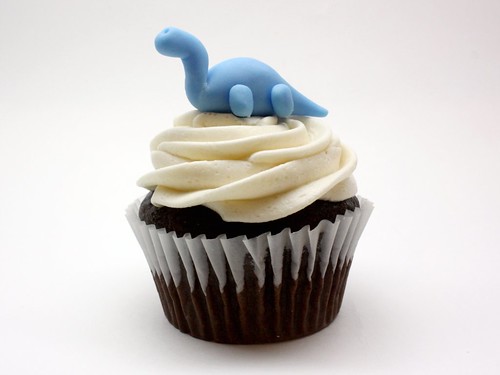
As if I didn't have enough work cut out for me, I also decided to make teeny tiny dinosaur toppers for the cupcakes. I made about three dozen of these little critters. I wish I took a picture of them all lined up in rows before I placed them on top of each cupcake. It was a pretty funny sight.


Ah...but the best part of making a birthday cake for my son is seeing his eyes light up when he sees his cake for the first time. THAT is what makes all of this worthwhile :-)

22 comments:
i have that book too! You did a great job and your dinosaur cake looks so adorable & cute! Happy Birthday to your son!
I've made a couple of cakes in the sports ball pan and haven't had trouble with it being undercooked, but I usually turn the oven down and cook the cake a little longer in that pan. Your cupcake dinosaurs are so very cute :)
That is so cute! I attempted to decorate a birthday cake last week, and I need a lot more practice.;)
adorable!
very nicen creative...love your site...following u
I saw the dinosaur head on tastespotting and it literally made me laugh out loud. This is the most adorable cake. I love it!!!
super cute!
so incredibly cute.. congrats on a beautiful cake!
This is the cutest thing I have seen on Tastespotting! That dinosaur face cracks me up too :)
Great work! It's super cute!
Wow, I think yours came out more perfectly than that picture of it in the book! Yours is flawless, and the little dinosaurs on top of the cupcakes could not possibly be cuter. You do really very lovely work!
Jane :)
Beautifully done. I bought this cake end of last year and have yet to attempt anything from it yet. I have to get cracking soon.
And it looks stunning.....planning on making your salted caramels tonight...or tomorrow!!!!!
wow! you're cake turned out absolutely marvelous!
your son is so blessed to have a mother like you!
i tried making a giraffe cake similar, but i had so much difficulty getting the head/neck to attach to the dome shaped body. how do you do it?
Superb! You have done it again.
Wow! That is an awesome cake!
Awww...Thanks everyone!
Solely: I inserted a long wooden dowel inside the neck and stuck it into the dome-shaped body. It did lean forward a little during transit, maybe because it was a little heavy. I might try some bamboo skewers next time.
Amazing! Loved the small ones! :D
Must I tell how amazed I am by this creation! Your Dinosur surely has better expressions than in the book. I am totally smitten by it!!! Just too good!!!
simply beautiful!!!
Just wondering what camera u're using with all the photos that u post... They look really yummy and wish I can taste them too... :-)
Hi! I use a Canon EOS Digital Rebel XSi. I'm still learning how to use it :-)
Hi! Your cakes are amazing! I want to attempt a Lego cake this year. I've never made fondant. Would you be able to post your recipe for fondant? Thanks for sharing!
This is what my sons grandma is making for my sons birthday to go with his dino big boy room
Post a Comment