I miss the traditional desserts I used to enjoy back in the Philippines. I spent most of my childhood there, and even though it's been decades since I left, I can still remember how good the food was, especially the desserts.
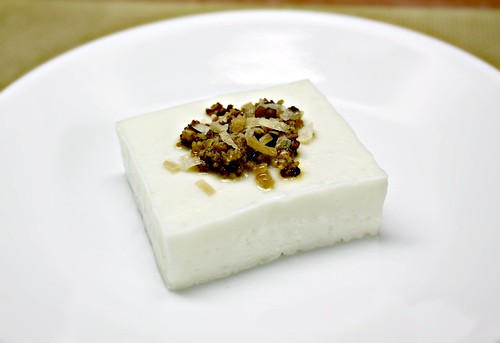
So this year, I wanted to make a Filipino dessert for Thanksgiving. I asked my mom, my aunt and my grandmothers for their recipes for tibok-tibok. It's a milk pudding topped with fried coconut milk solids called latik. It is a specialty in the region where I grew up, an area just north of Manila called Pampanga. It's very similar to maja blanca, another Filipino dessert that has bits of corn mixed into it.
My Tita Rica explained to me that the name "tibok-tibok", which literally means "heartbeat", describes how you can tell when the pudding is done; the bubbles just barely touch the surface so it looks like it's pulsating - like a beating heart.
There was so much variation between each of their recipes that I decided to take what I liked most about each one and created a whole new recipe. For example, tibok-tibok is traditionally made with carabao's milk, which is rich and creamy in texture, but since it's not available here in the U.S., I've used a combination of coconut milk and cow's milk in its place.
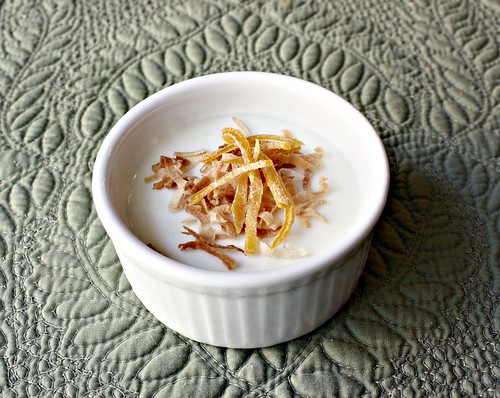
For fun, I topped them with toasted coconut flakes to add another layer of texture. Maybe I'll try topping it with julienned Philippine dried mangoes too :-) Yum!
Tibok-Tibok (coconut milk pudding) with latik and toasted coconut
Allergy Note: contains dairy ingredients.
For dairy-free alternative, you can replace the whole milk with coconut milk, rice milk, goat milk or soy milk.
latik:
3 1/2 cups canned coconut milk*
toasted coconut:
1 -2 cups sweetened flaked or shredded coconut (same as desiccated coconut)
pudding:
3 1/2 cups canned coconut milk *
3 1/2 cups whole milk (for vegetarian, you can replace with coconut milk)
1 cup sugar
1 cup cornstarch
1 tablespoon of lime peel
1/2 tsp salt
* for best results, try to find canned coconut milk that has "first pressing" written on the label
For the latik:
In a deep non-stick frying pan, bring the coconut milk to a boil then lower to medium heat. Continue stirring the coconut milk until the coconut oil starts coming out and the coconut milk solids turn golden brown. Remove from heat immediately and pour into small bowl.
NOTE: some canned coconut milk are very lean, so if your coconut milk starts thickening and there's not much oil coming out, add a tablespoon of coconut oil
For the toasted coconut:
Preheat the oven to 350 degrees F. Lay the flaked or shredded coconut on a baking sheet lined with parchment paper or silicone baking mat. Heat for 3 to 5 minutes or until golden brown.
For the pudding:
Grease a 9 x 13 pan, with the coconut oil from the latik, then set aside. In a large saucepan, combine coconut milk, 2 1/2 cups whole milk, 1/2 cup sugar and lime peel. Bring to a boil, remove lime peel and then lower heat to a simmer. Combine cornstarch, 1/2 cup sugar and salt in a medium bowl. Add 1 cup whole milk and mix thoroughly. Pour into the saucepan and stir constantly until the pudding starts to thicken. Let the pudding cook for a few more minutes. The pudding will thicken and as soon as it starts to bubble, remove from heat and pour into the prepared pan. Let cool completely before cutting into servings.